Everything in one place: the shared World Map, the basics, every tower and its specializations, all enemy types, the three-act campaign and its fifteen bosses, Ascension, Endless and Abyssal Endless, plus the strategy that turns a short hold into a rankings run.
Enemies walk a fixed road toward your gate. Every one that reaches it costs a life. Your job is to turn that road into a killing field.
Place towers on empty ground beside the road. Each costs gold and starts covering its radius immediately.
Kill enemies to earn most of your gold, then spend it on more towers or upgrades. Objectives, achievements and stage clears add smaller bonus payouts; Gold is the only resource during a run.
Click a tower to upgrade it or choose a specialization once it reaches the required level.
Cast spells when a wave breaks through — they are your recovery tools, not your opening move.
Read the battlefield objective — Act II introduces split roads; Act III adds watchfires, repairable barricades, and void rifts that can shut down nearby towers.
Prepare for attrition — after every cleared campaign stage, deployed towers return to reserve one level lower. Level-1 towers are lost completely, even when aura-bound.
Survive the wave, then the boss at the end of each stage. Stage 6 opens Act II and Endless, Stage 12 opens Act III, and defeating the Crown Sovereign in Stage 15 completes the campaign and unlocks Abyssal Endless.
Pausing freezes the field — you can inspect towers, but you can't place new ones until you resume.
World Map — the shared Ashen Realm
The World Map button opens a common 80 × 80 realm, not the Campaign selector. Anyone can pan the map and inspect other defenders’ fortresses. The four outer reaches—Mossward (NW), Ridgewatch (NE), Greenwater (SW), and Stonefall (SE)—surround the neutral Emberheart Sanctum at the centre. Sign in, choose clear unoccupied ground, and name the fortress that will carry your banner. The western river, visible rocky ridge zones, the Sanctum, and prepared enemy grounds cannot hold a citadel; the map stays visually clean, then a green or red foundation check appears when you select a site. A valid tile can be claimed by only one account, so the server confirms every founding choice before it is placed.
Your first battle: the game opens at Play Modes with Campaign focused, so the story path is ready immediately. Choose Campaign to select your next unlocked stage; World Map is the separate shared-realm destination in the Command Deck. An interrupted run still opens its Resume screen first.
Shared enemy hosts: heroes can deploy only to crossed-swords markers, never to arbitrary tiles. Twelve prepared grounds receive a new random game-mob host every 20 minutes. Their remaining mob count is shared by every player: arrive, strike once using your current Hero Power, and earn Crystals only for the enemies your hero defeats. Other defenders can reduce the same host before you arrive; when its count reaches zero, it is cleared for everyone until the next muster. Each host’s inspector keeps a private Hunt Ledger with only your kills and Crystals from that current muster. Campaign stage selection remains under Play Modes → Campaign.
Inside your fortress: press your own banner on the World Map, or choose Home keep, to enter the inner courtyard. The Citadel, Scout Lodge, Rift Observatory, Rift War Room, Banner Hall, and Cartographers’ Hall have dedicated building sites there, so upgrades happen on the structure itself rather than in the map inspector. The wider city plan also keeps prepared empty foundations for the Training Grounds, Armory, Emberforge, Dawn Infirmary, Ashguard Barracks, and Oath Hall. Hover or select one of those plots to inspect its blueprint; they do not spend Crystals or unlock unfinished systems yet. Each completed realm building appears physically on its prepared courtyard foundation and grows brighter at higher levels. Raising the Citadel shortens future travel; improving the Scout Lodge adds one Crystal per level to every enemy defeated; the Observatory adds one Crystal per level only to enemies defeated in the rotating World Rift host and can plot its route straight from the courtyard; the War Room shortens only World Rift travel by 8% per level. The Banner Hall unlocks a public motto at level 1, banner colour at level 2, and a curated honorific at level 3 — all visible to other defenders on the common map. Cartographers’ Hall level 1 identifies a host’s tactical trait, level 2 forecasts the kills and simple Crystals of your next strike from your current Hero Power, and level 3 charts the name and tile of the next World Rift before it manifests, marking that battlefield with a teal diamond and allowing you to focus it from the Hall.
Kill combos — the hidden score multiplier
Every kill within 2.6 seconds of the last one extends your streak. The multiplier climbs as it grows: ×5 kills multiply score by 1.25, ×10 by 1.5, and ×20 by 2. Finishing a ×10 or longer streak grants bonus score on top.
A single enemy reaching the gate breaks the combo with no reward. Protecting your lives protects your score twice over. Kill bounty scales with stage depth and Endless cycles, and Ascension can improve it, but it is deliberately lower than the old economy — plan around upgrades and objectives, not endless filler kills.
Towers & upgrades
Five towers, each with two specializations that fork its role. Costs shown are the base build price before Ascension discounts.
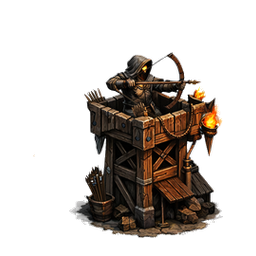
Archer
90 gold · cheap starter
DMG 30RNG 1220.72sSingle
Fast, affordable, reliable. Your opening pick and the backbone of any early layout.
Rapid ShotMuch faster fire, slightly less damage — melts fast swarms.
Heavy Arrows+38% damage, a bit slower — punches through tanks.
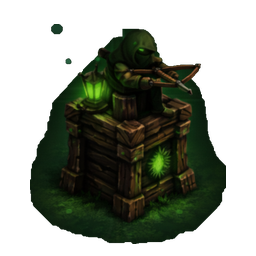
Hunter
190 gold · long range
DMG 76RNG 1861.24sSingle
Longest reach in the game. Covers long lanes and picks off priority targets early.
Sniper+20% range, +25% damage — an elite killer for bosses.
TrackerFaster projectiles, +35% vs fast enemies — never misses runners.
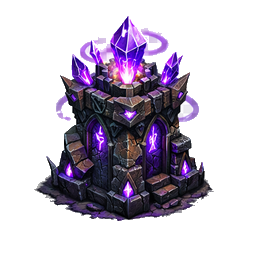
Mage
235 gold · splash
DMG 54RNG 1561.08sSplash 52
Area damage that softens groups. Excellent against clustered waves and splitters.
Frost MageSlows enemies on hit — adds control to its splash.
Arc MageChains to a nearby target — more coverage per shot.
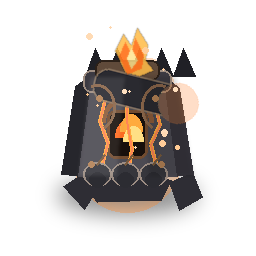
Bomb Tower
305 gold · heavy AoE
DMG 104RNG 1451.70sSplash 68
Slow but devastating burst. The strongest single hit and the best wave-clearer when placed on a choke.
DemolitionBigger splash and damage — clears dense packs.
Shock BombChance to stun on hit — control plus burst.
❄
Cryo
160 gold · unlock: 150 Crystals
DMG 22RNG 150Chill fieldBrittle
Low damage, huge value. Its chill field slows everything nearby and stacks Brittle, amplifying every other tower's damage.
GlacierDeeper chill, wider field — maximum slow.
ShatterMore Brittle per hit, +damage — amplifies your whole defense.
Upgrade values: each gold upgrade multiplies damage by ×1.40 (Bomb ×1.50), range by ×1.10, and attack speed by ×0.95 (faster), with the cost rising ×1.65 per level. Upgrades stay strong but no longer let a single maxed tower dominate — so keep expanding your coverage.
Adjacency bonuses — towers buff their neighbours
Towers placed next to each other grant passive bonuses. Clustering is not just about coverage — the right neighbour makes every tower in the pocket stronger.
Cast with Q, W and E, or click the buttons above the map, then click the target area.
Frost Nova — best for slowing a dense pack as it enters a kill zone.
Meteor Strike — strongest when enemies overlap, or a boss arrives with minions.
Chain Lightning — instant cleanup when several enemies are bunched together.
Holding spells for danger moments is almost always stronger than casting them on cooldown. Treat them as tools to prevent leaks and stabilize bad waves, not as damage you spend the moment it's available.
Enemy types
Every wave mixes enemies with readable combat traits. Break formations, prioritize support units, and keep hard control for dangerous phase changes.
Skeleton
Baseline HPMediumSteady bounty
The standard foot soldier. Balanced and predictable — the yardstick every other enemy is measured against.
Runner
Low HPVery fastLow bounty
Pack Hunter: gains 16% speed near another Runner. Frost Nova and Cryo split the formation so tracking towers can finish it.
Tank
2× HPSlowHigh bounty
Last Stand: below 40% HP it accelerates and resists slows. Stuns and freezes still stop it completely.
Armored
~1.5× HPSteadyHigh bounty
Bulwark: nearby allies take 18% less damage. Destroy the armored carrier first with magic, bombs, and Brittle.
Splitter
~1.3× HPMediumSplits
Appears from stage 3. Bursts into smaller enemies when killed — splash towers handle the fragments cleanly.
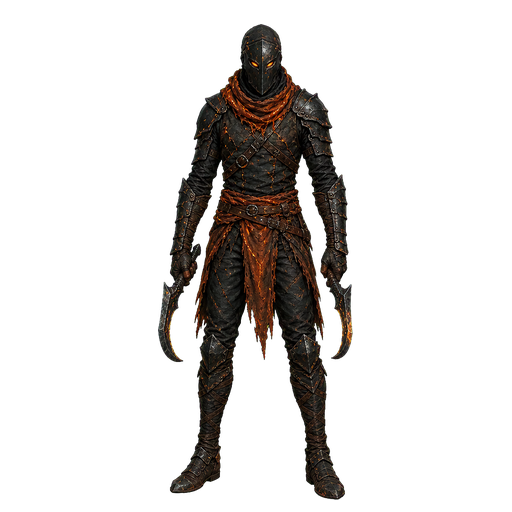
Cinder Skirmisher
Act IIFastPriority bounty
Cinder Leap: below 55% HP it vaults ahead once, then keeps a 12% speed boost. Burst it down before the threshold or save hard control for the leap.
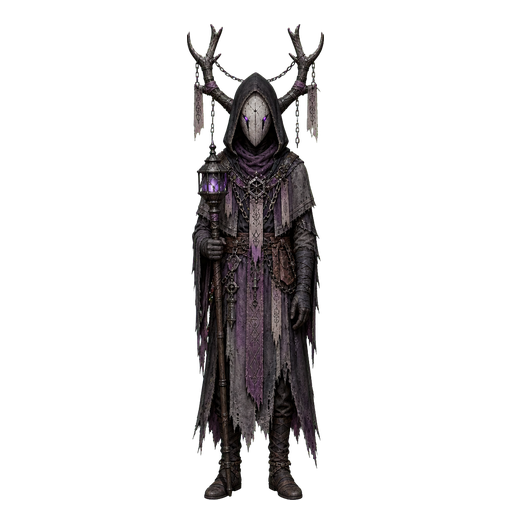
Hollow Binder
Act IISupportPriority bounty
Tower Hex: disables a nearby tower for 2.2 seconds every seven seconds. Prioritize it before it reaches the center of your formation.
Crystal Revenant
Act IIHeavy bountyWard
Crystal Ward: enters with an 18% shield and restores a 24% ward once below 45% HP. Hunter focus and sustained damage prevent it from stalling the line.
Ram Carrier
Act IIISiegeHeavy bounty
Siege Ram: stops at a repaired barricade and strikes it for triple damage. Focus it before it reaches the gate; Stage 14’s repaired barricades buy time only if the Ram falls quickly.
Shadow Stalker
Act IIIFastConcealed
Nightfall Hunter: a fast void attacker in the Crown of Night. During Stage 13’s darkness, shadow enemies use the same concealment — relight every watchfire so your towers can reveal and target them again.
In Endless, every non-boss enemy has double health, and health also climbs with each wave. Control tools — slows and Brittle — scale better than raw damage over a long run.
Bosses & their abilities
Every campaign boss begins in a base state, then has two telegraphed power breaks. Each telegraph lasts 1.2 seconds, giving you time to cast, reposition Varyn, or change target priority. In Endless, both bosses keep their own phase state; Act III bosses gain one further evolution only in Abyssal.
Stage 1
Ancient Treant Skull
Forest · difficulty ×1.0
Root Grasp → Ancient Overgrowth — first snares one tower, then two. Keep overlapping kill zones.
Stage 2
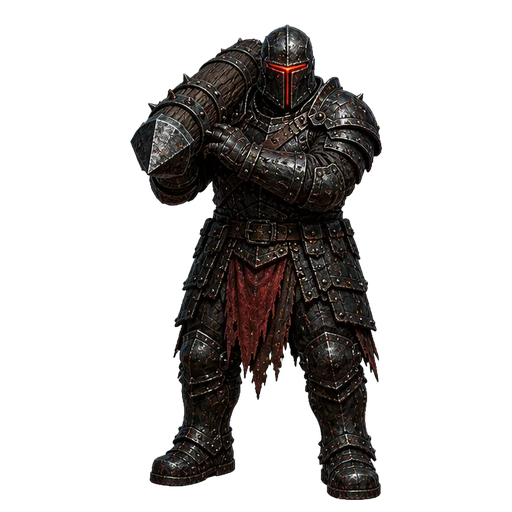
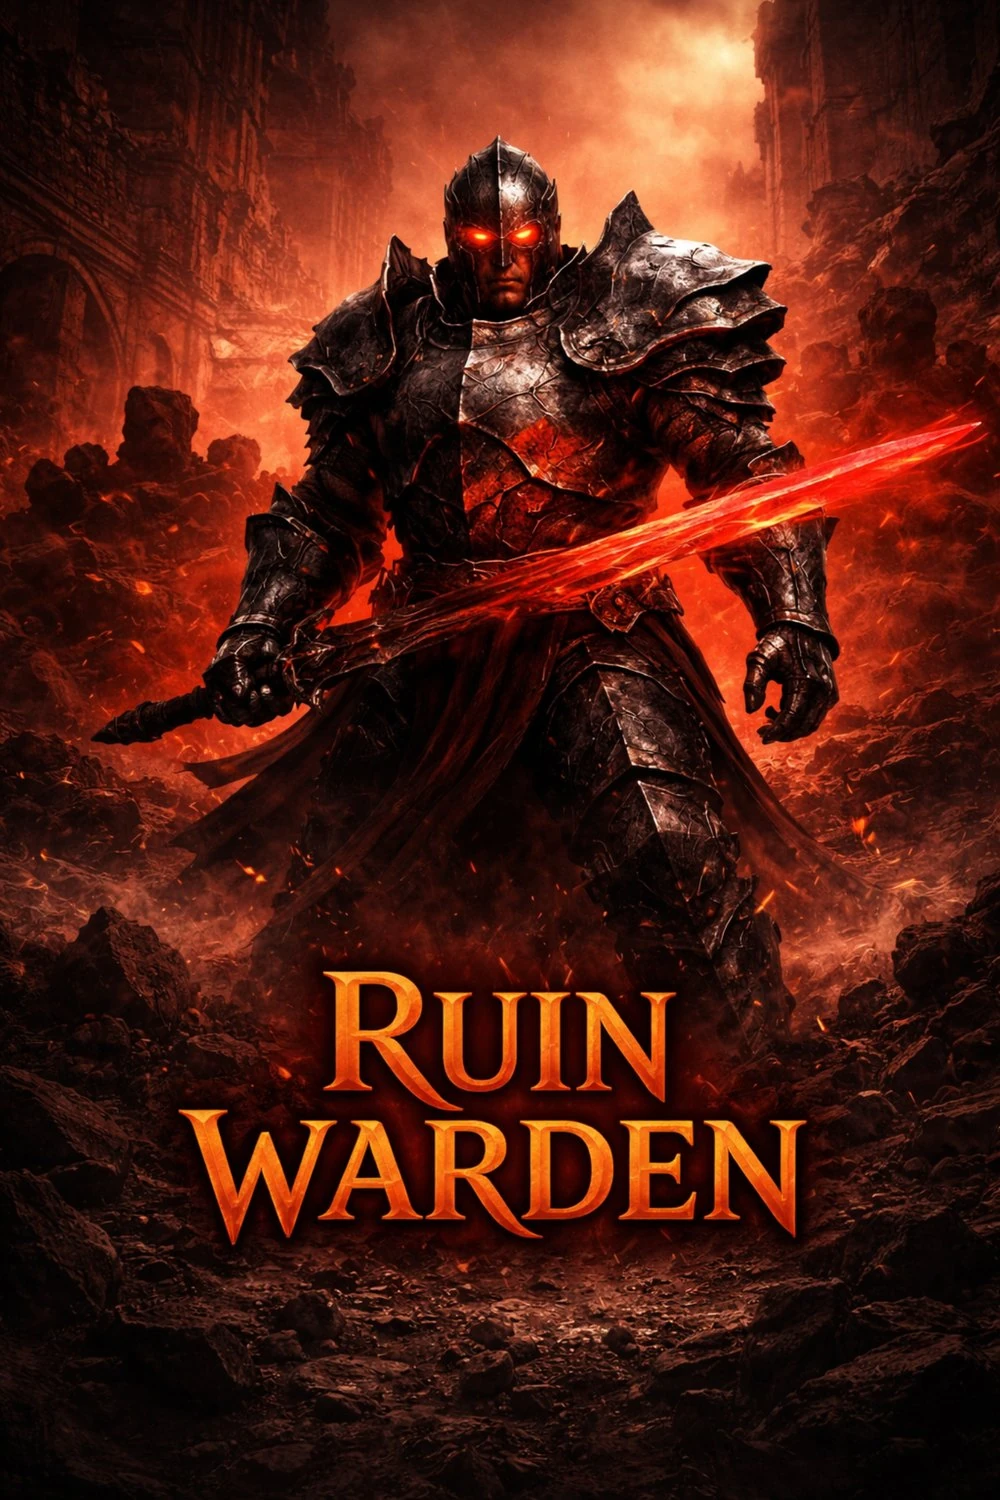
Ruin Warden
Ruins · difficulty ×1.35
Warden Rage → Ruin Frenzy — two escalating speed surges. Hard control is strongest during the telegraph.
Stage 3
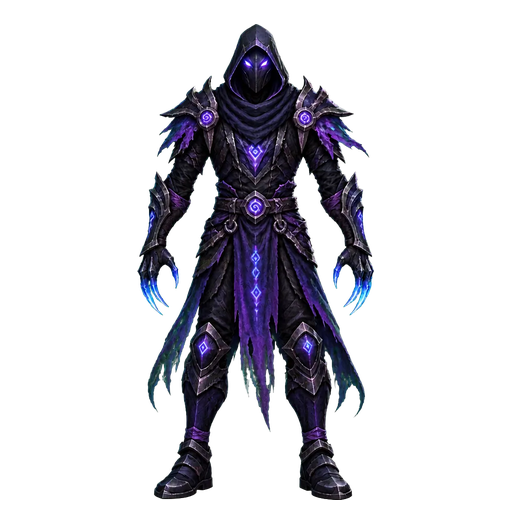
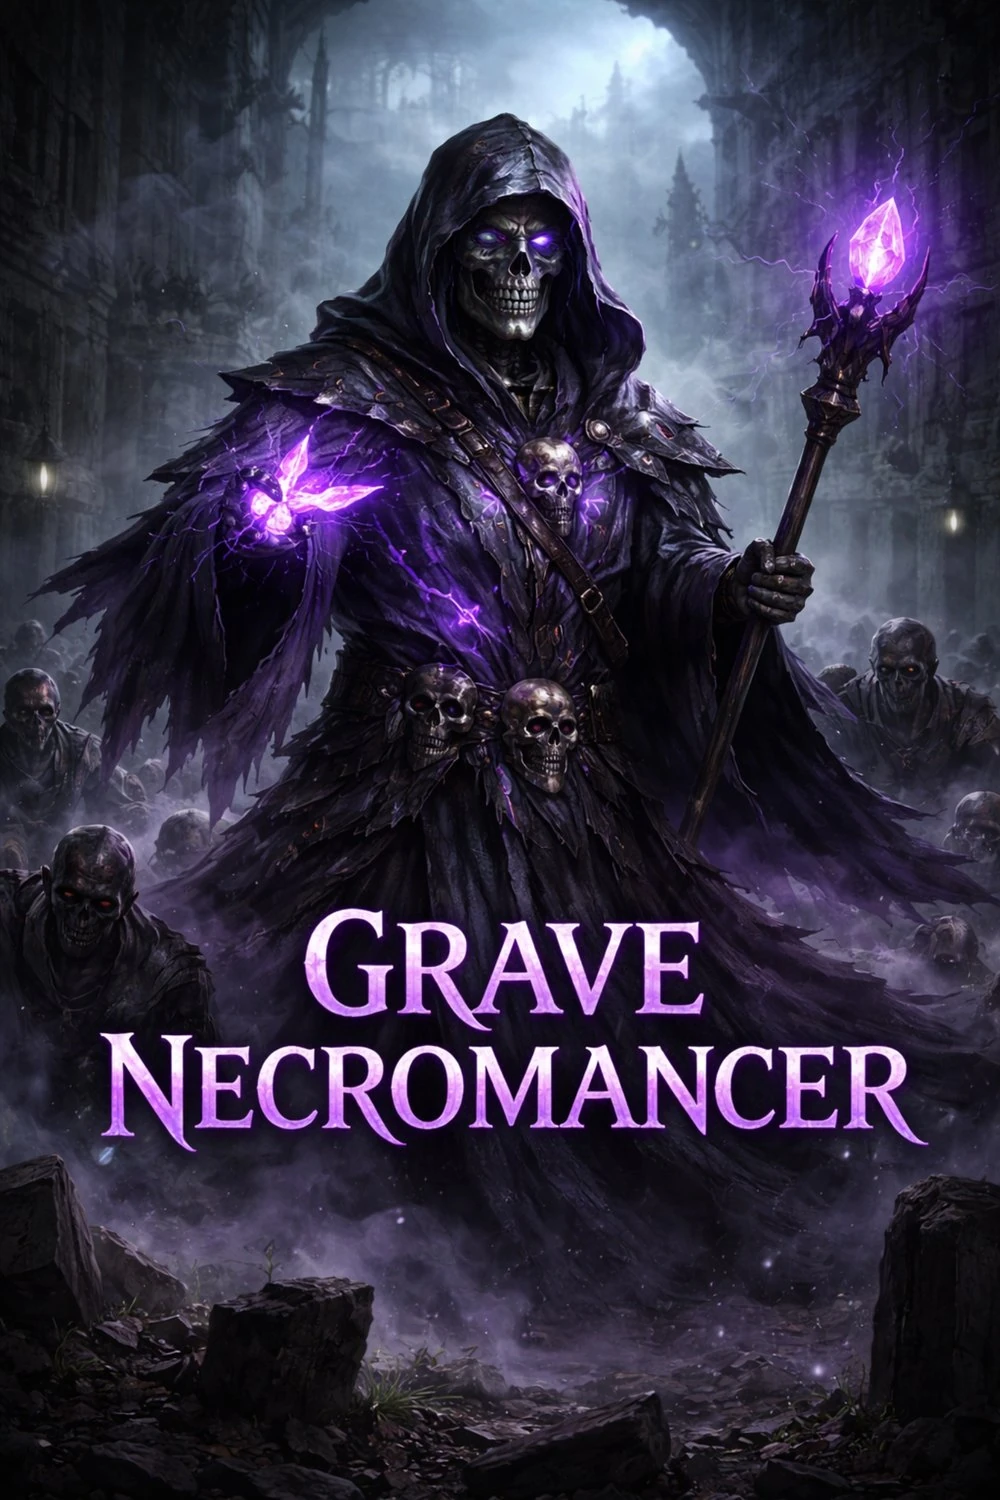
Grave Necromancer
Graveyard · difficulty ×1.7
Grave Call → Legion Rising — summons increasingly large Runner packs. Save splash damage for the adds.
Stage 4
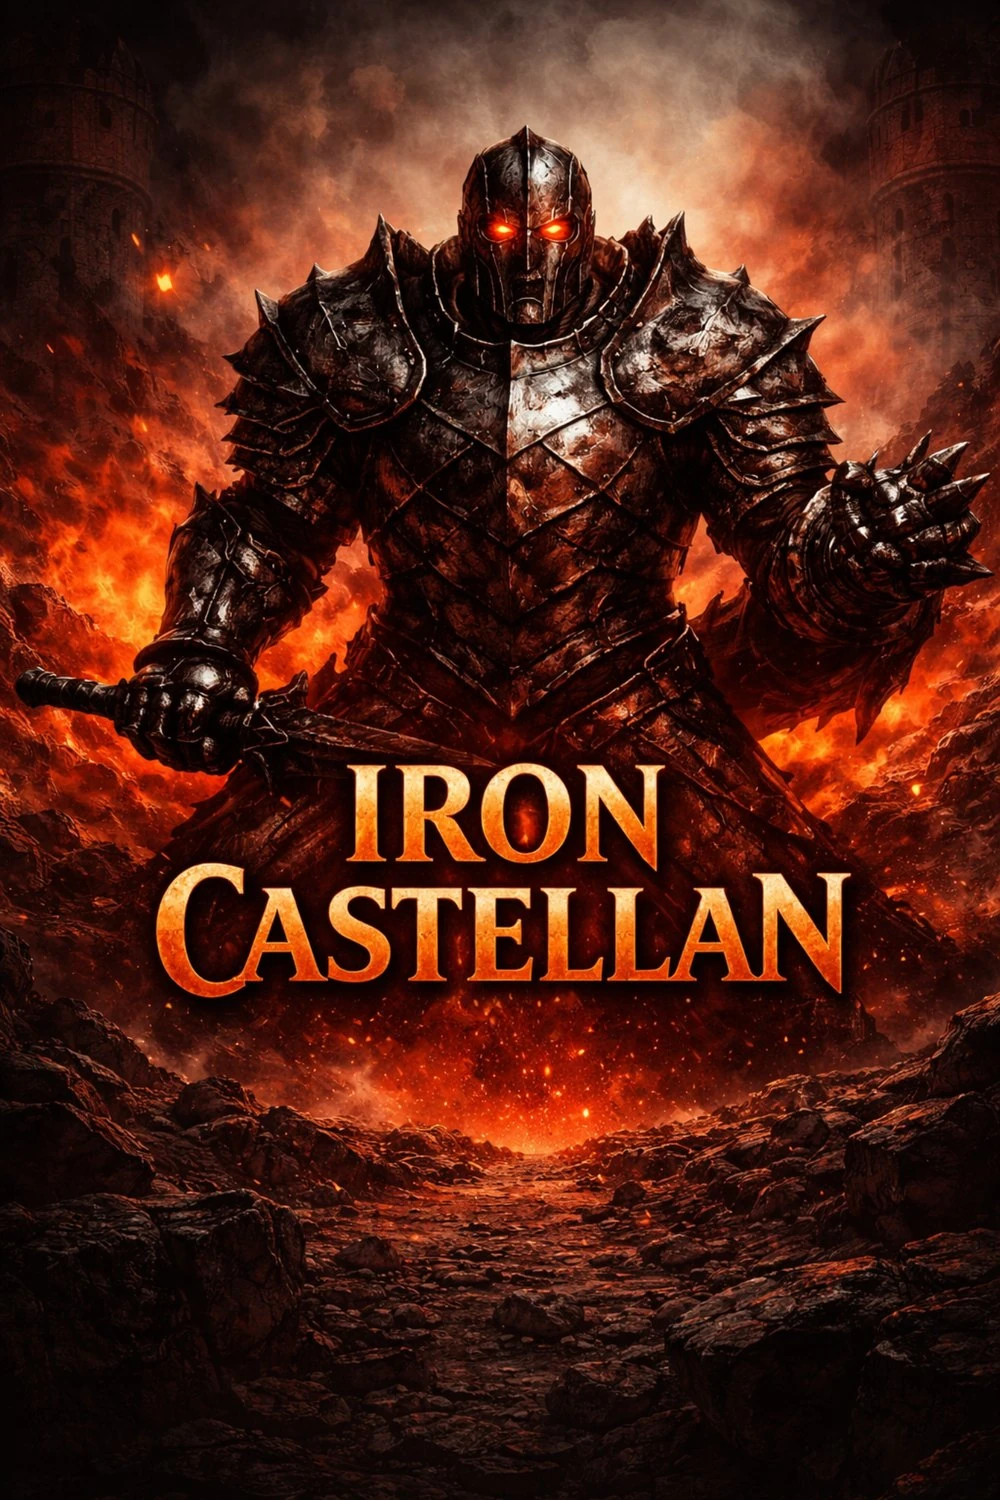
Iron Castellan
Castle · difficulty ×2.15
Iron Bulwark → Last Bastion — gains two real damage-absorbing shields. Do not waste cooldowns into the telegraph.
Stage 5
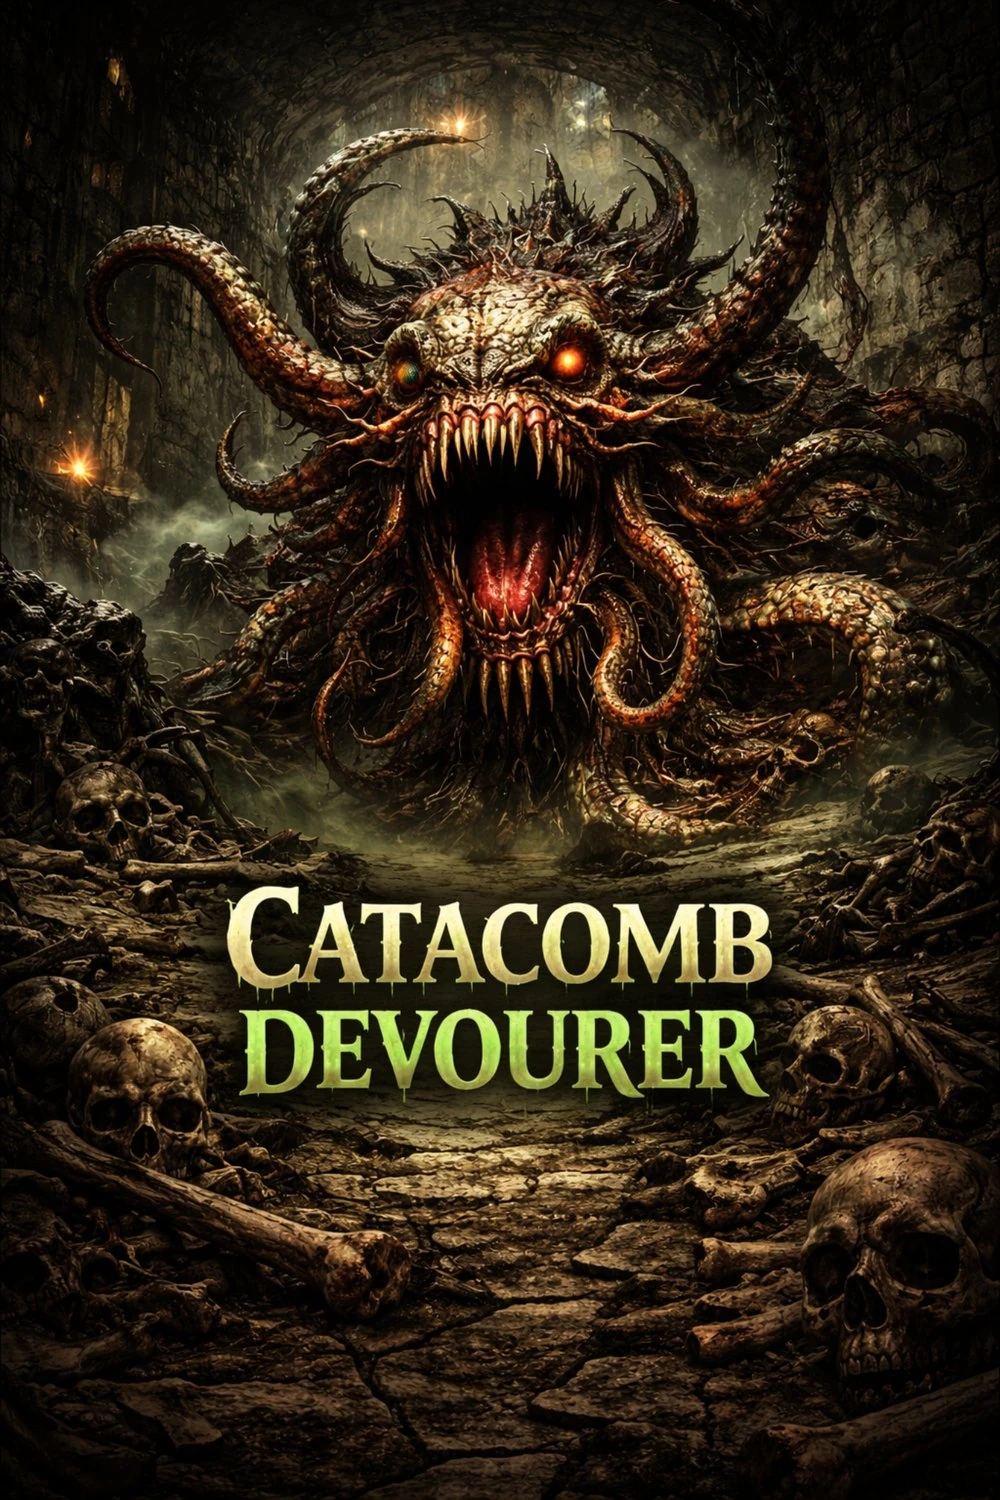
Catacomb Devourer
Catacombs · difficulty ×2.55
Devourer's Hunger → Blood Feast — heals and accelerates twice. Layered control is essential.
Stage 6
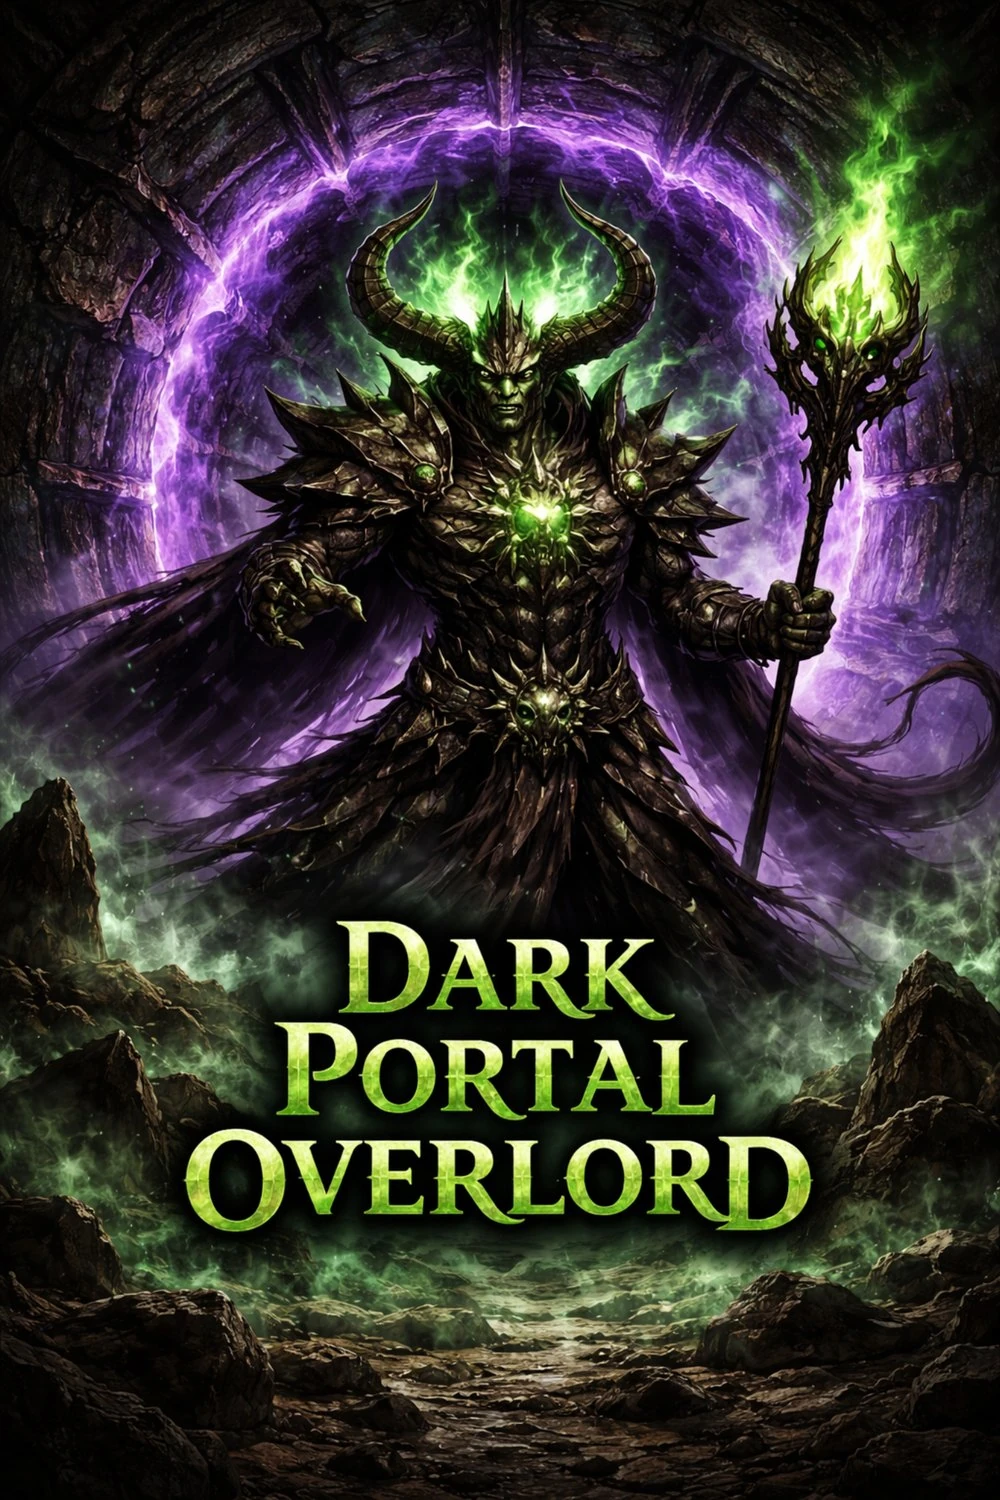
Dark Portal Overlord
Dark Portal · difficulty ×3.0
Void Shell → Portal Breach — shields first, then opens the portal for a large Runner pack.
Stage 7
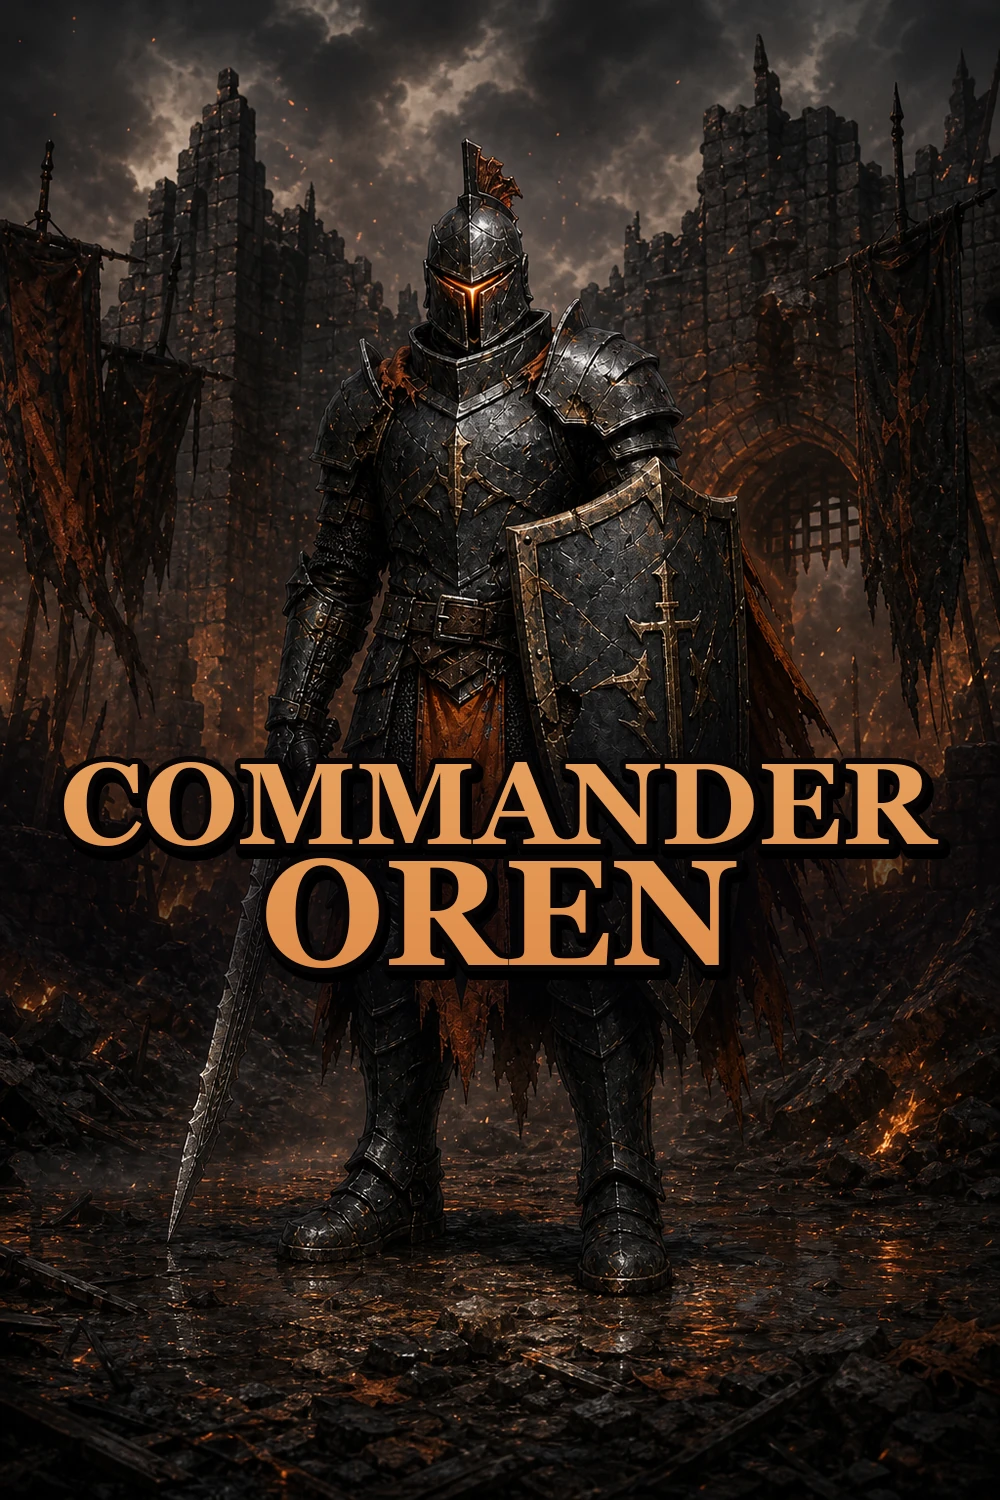
Commander Oren
The Broken Gate · difficulty ×3.35
Gatekeeper's Guard → The Last Command — breaks your burst with a shield, then accelerates for the final push.
Stage 8
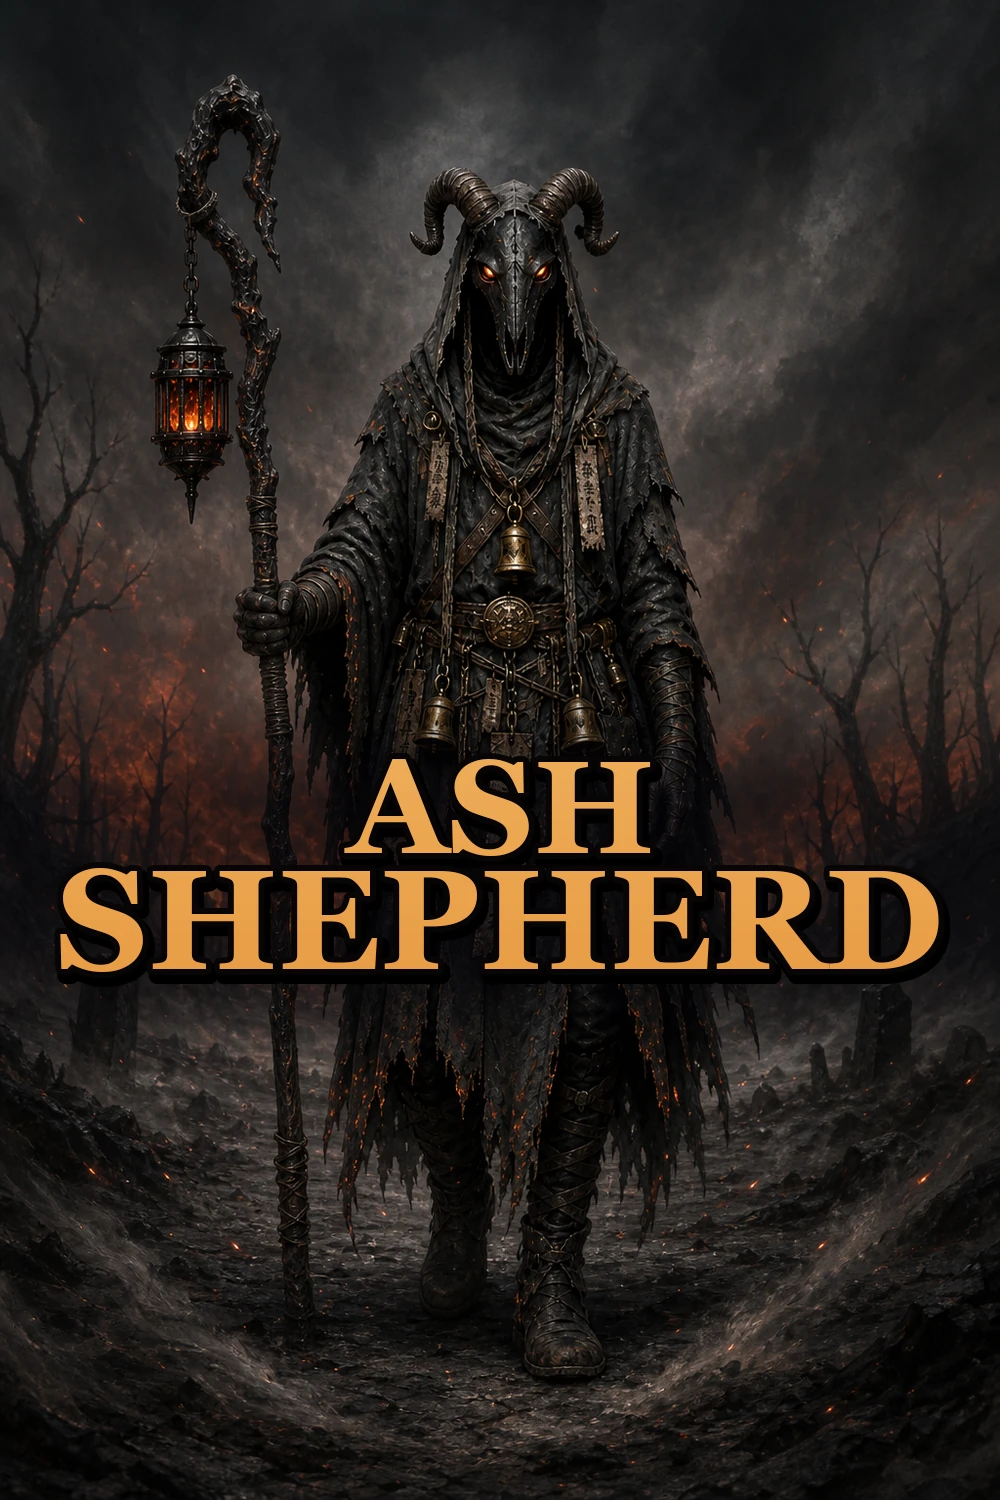
Ash Shepherd
The Ashen Road · difficulty ×3.65
Ash Flock → Cinder Stampede — floods the road with reinforcements before entering a late rage.
Stage 9
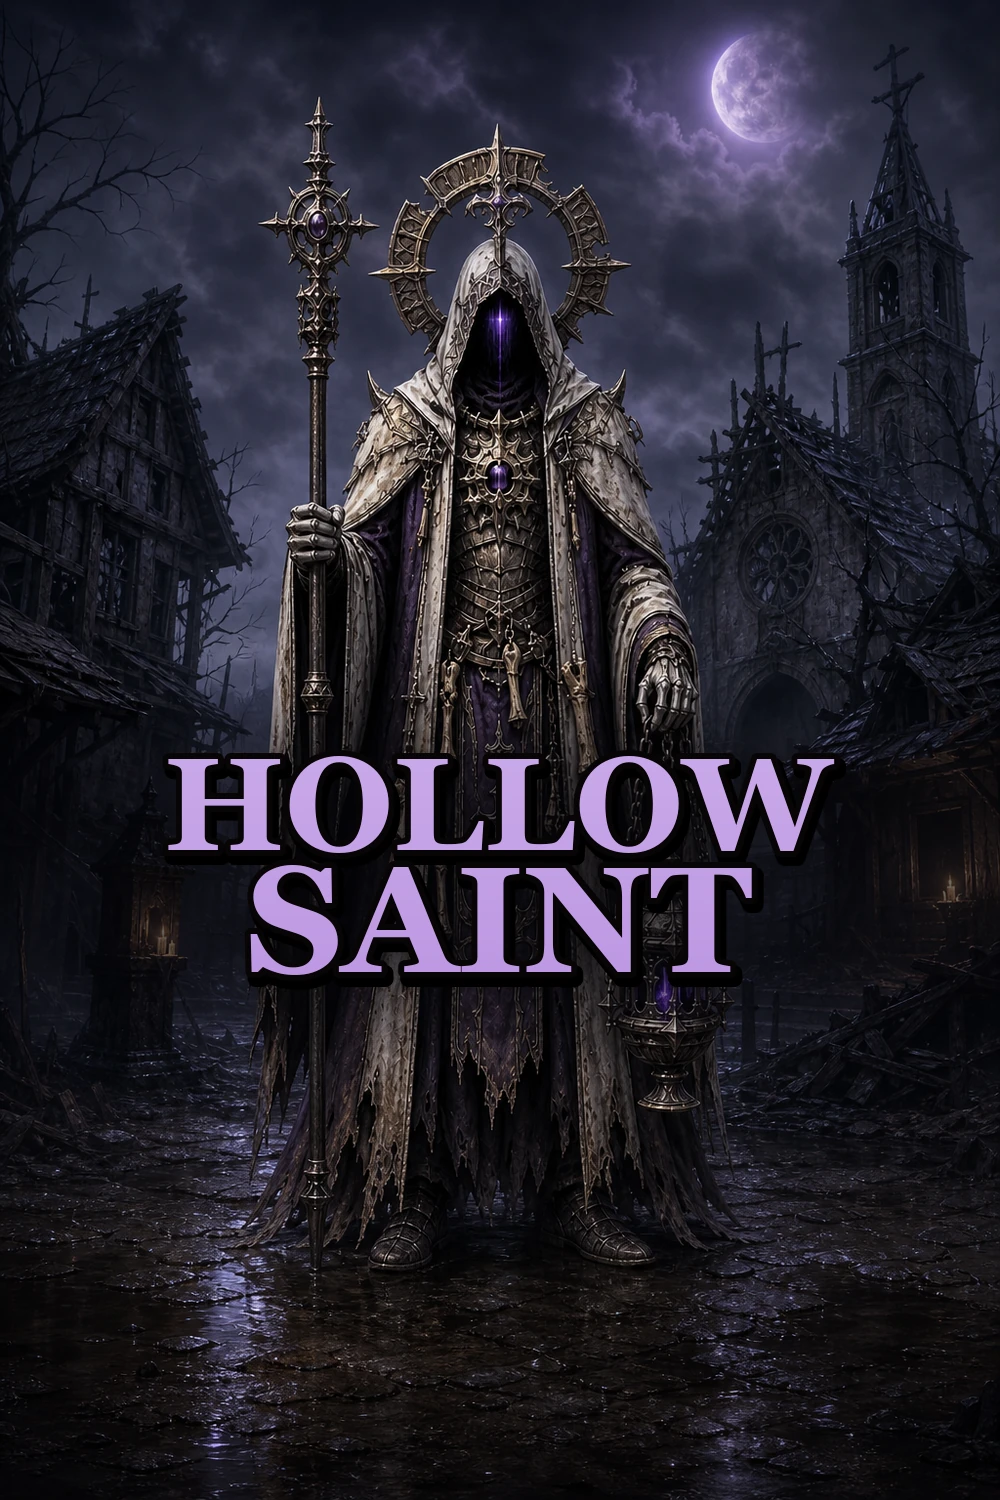
Hollow Saint
The Hollow Village · difficulty ×3.95
Hollow Grasp → Lost Congregation — disables tower coverage, then summons a dense final congregation.
Stage 10
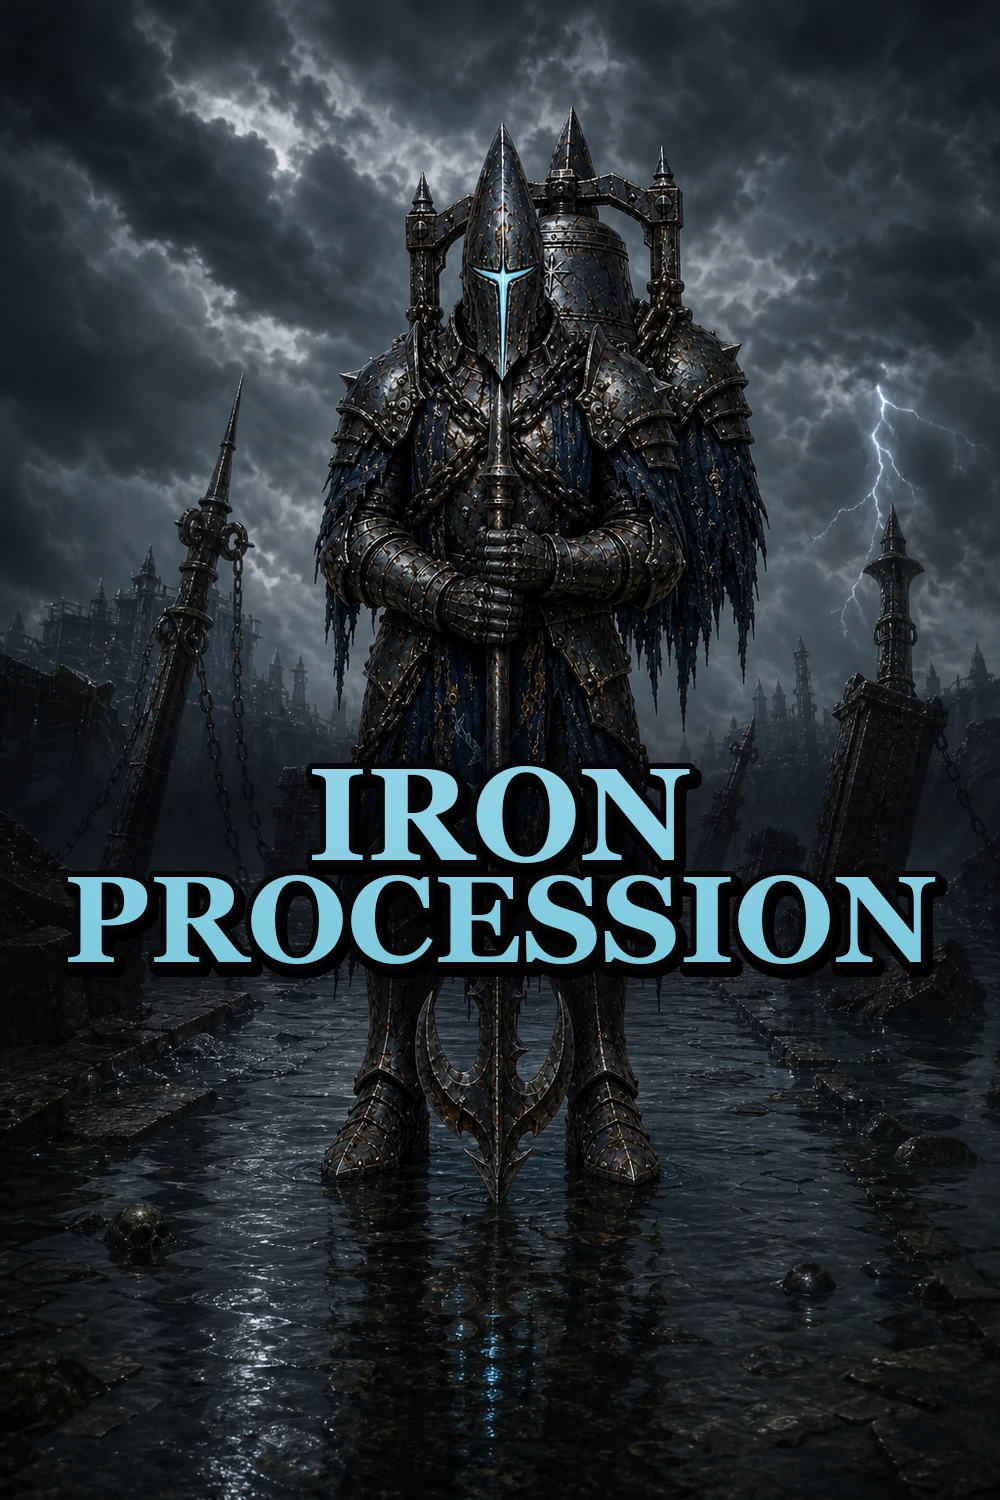
Iron Procession
The Sunken Crossing · difficulty ×4.25
Iron Screen → Forced March — absorbs the opening barrage and rushes the crossing at low health.
Stage 11
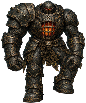
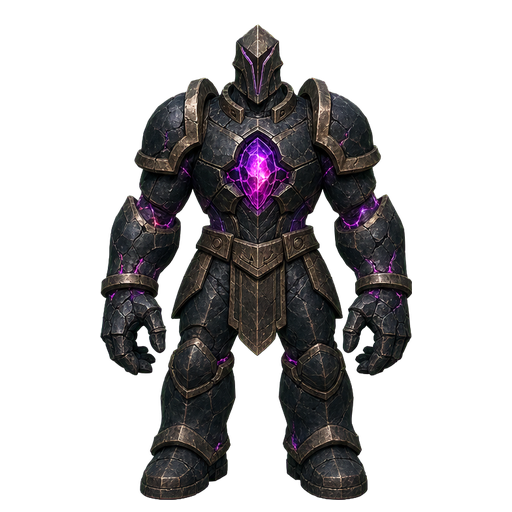
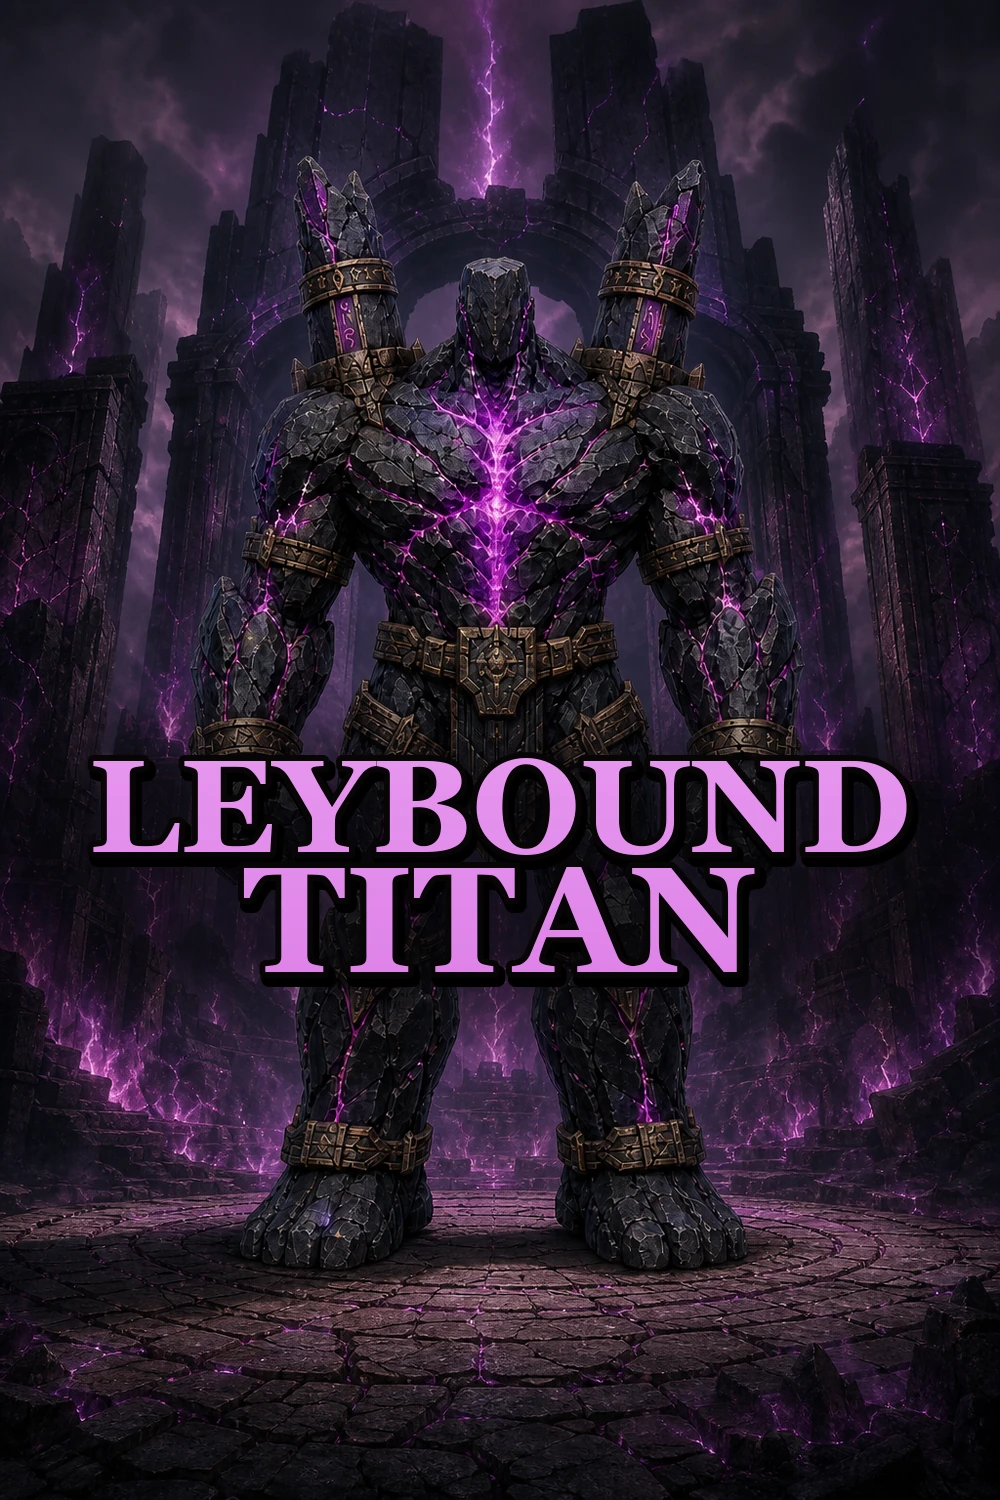
Crystalbound Titan
The First Flame · difficulty ×4.65
Ley Snare → Primordial Ward — locks key towers before raising its strongest damage-absorbing shell.
Stage 12
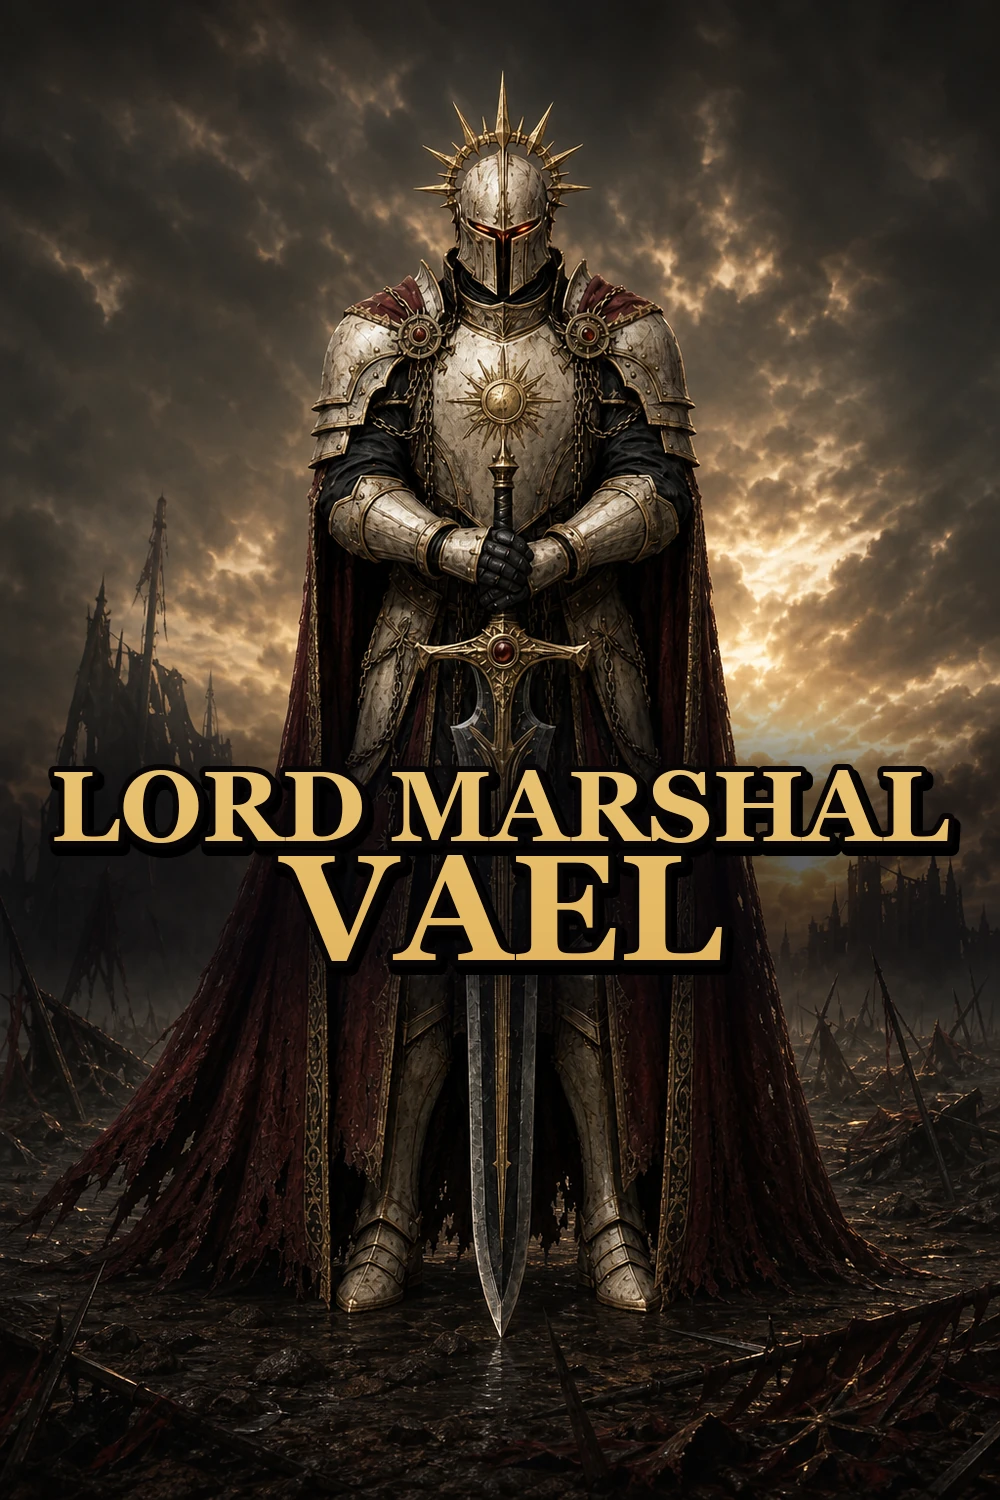
Lord Marshal Vael
The Field of Dawn · difficulty ×5.10
Marshal's Guard → The Final Order — demands shield discipline first and full control for the final rage.
Stage 13
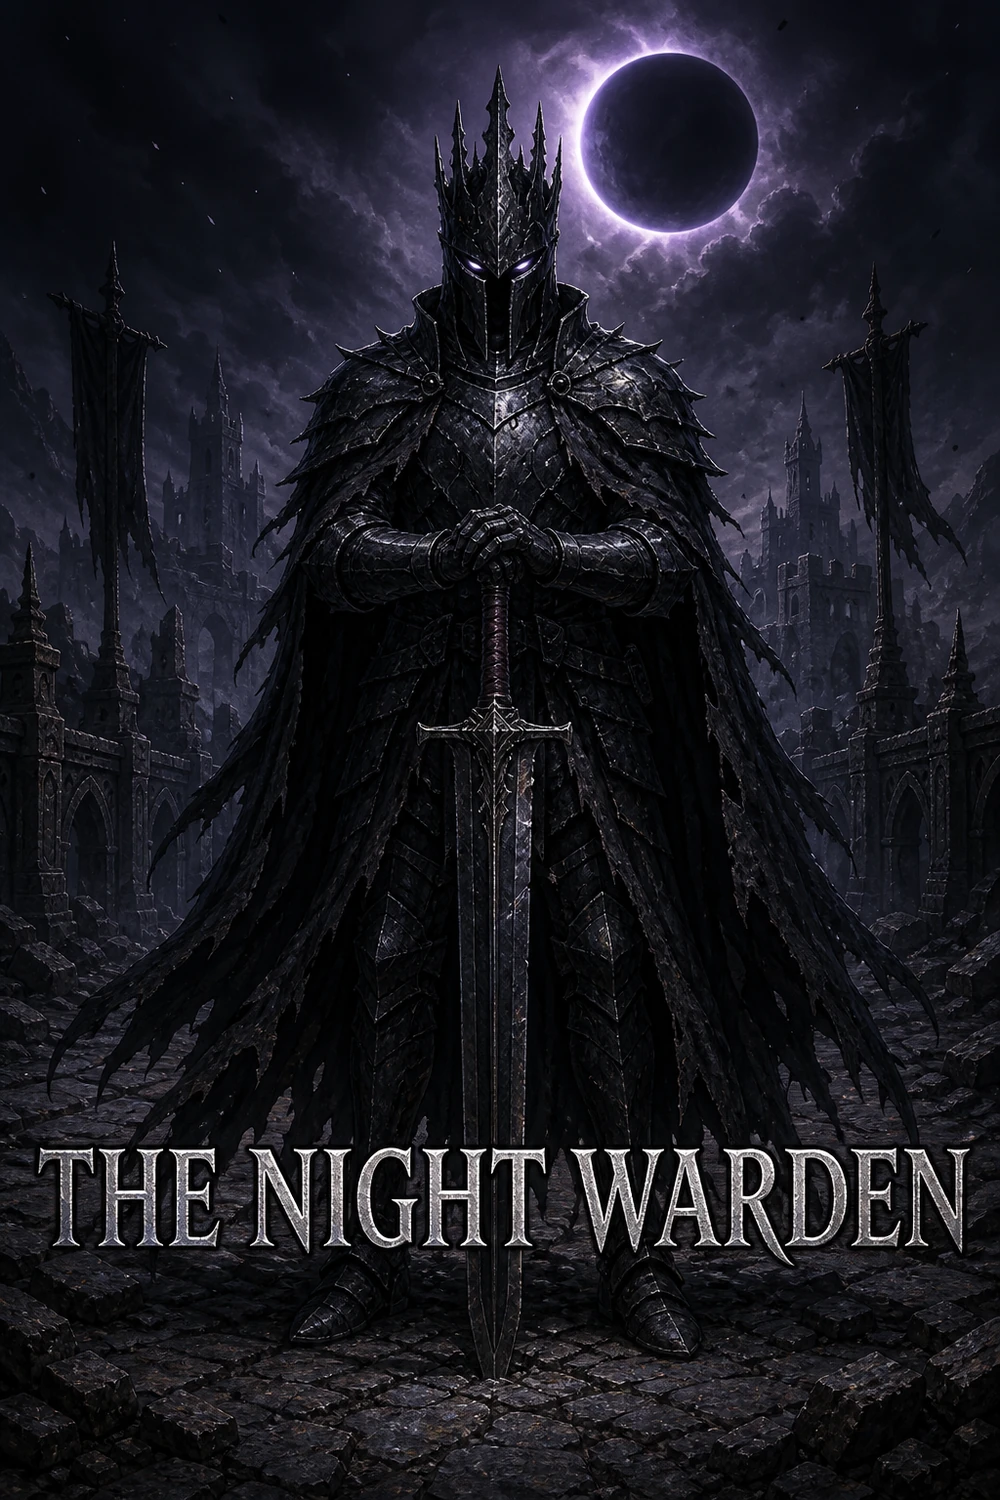
The Night Warden
The Shrouded Causeway · difficulty ×5.55
Crown Eclipse → Absolute Night — smothers every watchfire. Reignite the braziers so your towers can reveal the shadows again.
Stage 14
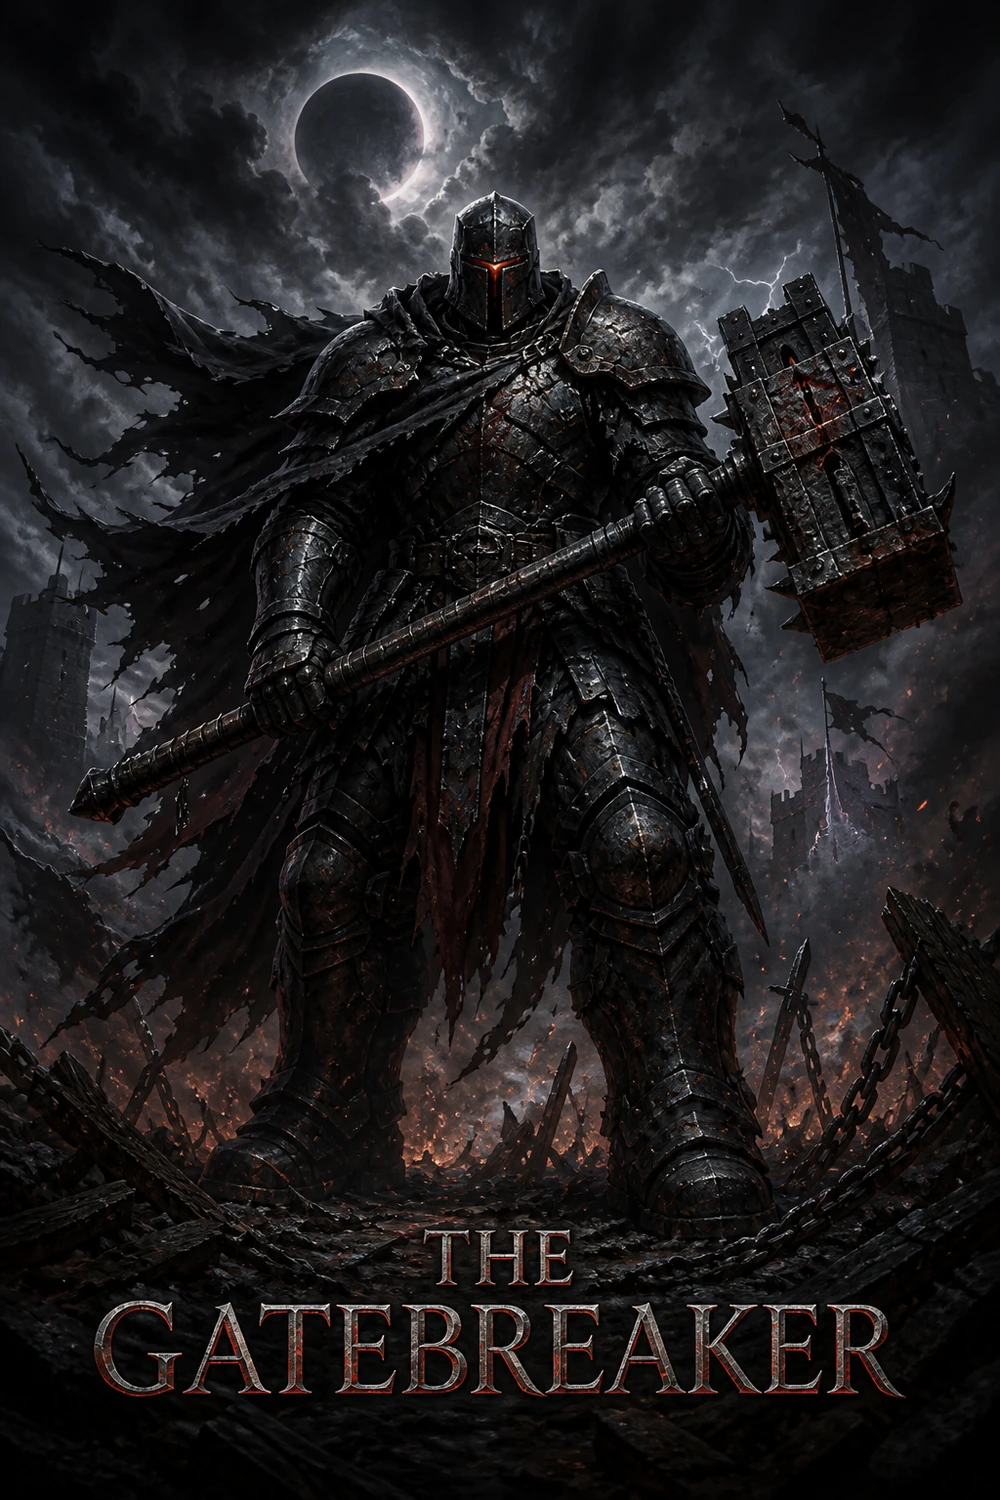
The Gatebreaker
Blackwind Pass · difficulty ×5.95
Gatebreaker Blow → The Last Gate Falls — targets a barricade to shatter. Repair the gates before the breach and keep focused damage ready for the siege.
Stage 15
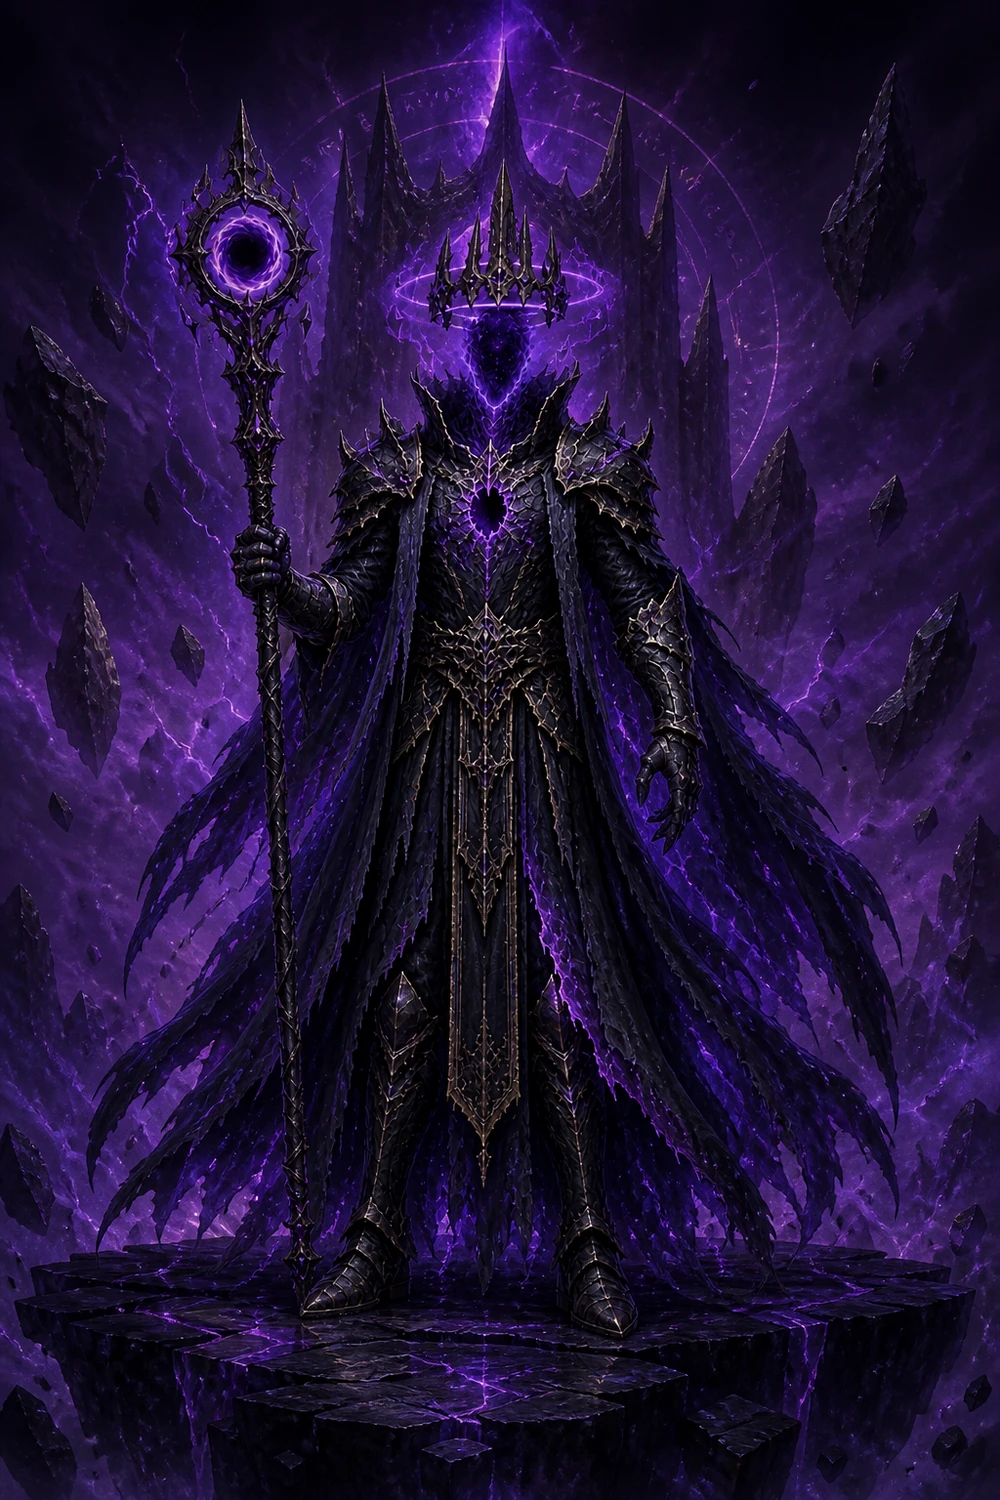
The Crown Sovereign
The Crown of Night · difficulty ×6.45
Crown Riftcall → Void Convergence — tears open void rifts during both phase breaks. Seal them before their lock zones silence the core of your defense.
Boss loot: every defeated boss awards one persistent procedural equipment drop to the Loot Cache. Open Inventory & Equipment with the Bag button or I, claim it, then equip it to Varyn. Equipment changes combat stats immediately, persists after reload, and can be removed without losing the item. Defeating the Crown Sovereign also queues the fixed three-piece Crownfall Regalia and unlocks the permanent Crownshatter mastery. Separate Campaign, Endless, and Daily pity counters guarantee a Rare after a short dry streak and an Epic after a longer one; duplicate rewards never advance the counters.
Ascension & Crystals
Every run — win or lose — earns Crystals. Spend them on permanent upgrades that carry into every future run, so you grow stronger the more you play. Progress saves locally and syncs to your account when signed in.
🔆 Radiance — raw firepower: more tower damage, faster attacks, extra range, empowered ancient tower ruins.
🛡 Bastion — economy and survival: bonus starting gold and lives, more gold per kill, stronger stage-clear healing.
🔮 Arcana — spells and drafts: shorter spell cooldowns, aura rerolls, more Crystals earned, wider boss aura choices.
❄ Special Towers — unlock Cryo (150 Crystals), then its four upgrades: Deep Frost (stronger chill), Glacial Reach (range & field), Frostbite (damage), Shatterpoint (extra Brittle) — each with four ranks at 300 / 600 / 1000 / 1600.
🎒 Bag expansion — the Shop’s Bag tab increases permanent inventory capacity from 40 to 120 slots in +10-slot ranks. The first rank costs 1,200 Crystals; later ranks cost more.
Node costs rise with each rank, so early attunements are cheap catch-up power, while the deepest upgrades — especially the Cryo tree — are long-term goals worth grinding toward.
Hero Skill Tree: Varyn earns one skill point for every level after Level 1. Open it with the Skills button or K, then build into Warden's Blade for attacks, Riftcaller for Rift Pulse, or Last Bastion for survival and mobility. Skill bonuses combine with equipment immediately. Completing Act III adds Crownshatter: a permanent, non-respecable mastery worth +12% boss damage and +10% Rift Pulse damage. Respec refunds only spent skill points; it never resets hero XP, gear, or Crownshatter.
Equipment, sets & Essence: Varyn can equip a Helmet, Weapon, Armor, Boots, Ring and Charm. Equip two or more pieces from the same set to activate every reached set bonus: Bastion Artificer has bonuses at 2 / 3 / 5 pieces, the three-piece Crownfall Regalia has bonuses at 2 / 3, and the six-piece Abyssal Oath has bonuses at 2 / 4 / 6. Abyssal Oath is the only set that drops exclusively in Abyssal Endless; its drops are always Rare, Epic, or Legendary. Salvage spare, unequipped items for Essence; 100 Essence crafts one Crystal.
Endless & Abyssal Endless
Open the Endless Mode selector in the main command bar. Standard Endless is entered from Act I after its finale; Abyssal Endless unlocks only after Stage 15 and has its own leaderboard.
Standard Endless — the long hold
Act I only — return to an Act I battlefield to enter the Dark Portal. Act II and Act III do not open Standard Endless.
Doubled enemy health — every non-boss mob has 2× HP, and health keeps rising each wave.
Boss pairs with a horde — every tenth wave sends two bosses with the full wave of mobs. Act I bosses appear first; Act II bosses join the pool from Wave 20.
Rotating soundtrack — after each boss pair falls, the music rerolls to a random stage theme.
Fewer Crystals than campaign — Endless rewards are deliberately leaner, so it's about the score, not the farm.
Rankings runs — reach as high a wave as you can; wave depth ranks first and bonus score breaks ties. Progress checkpoints during the run, so a deep hold is protected before game over.
Abyssal Endless — the Crown's arena
Stage 15 arena — begins in the Crown of Night and draws its boss pairs only from the three Act III bosses.
Harder opening — enemies begin with 32% more health and 11% more speed. You start with 25% less gold and only 16 lives.
Separate prestige — Abyssal runs bank to a distinct global board, never mixing with Endless Standard.
Act III hand-off — choosing Enter Abyssal from the Act III victory screen carries your deployed towers into the Abyssal reserve with their levels, specializations and auras. Starting Abyssal from the command bar begins clean.
Rifts never stay solved — from Wave 3, a sealed rift has a 30% chance to reopen at each wave start. Only one can return per wave, so keep a sealing fund available.
Abyssal evolutions — at 16% HP, Act III bosses gain a third phase break: Night Warden uses Starless Reckoning to eclipse up to three towers; Gatebreaker uses Unbroken Assault to dash and accelerate; Crown Sovereign uses Crown Reclamation to reopen up to two rifts.
Act III survival: Stage 13 needs all three watchfires lit to reveal enemies in Nightfall. Stage 14 gates can be repaired for 70 gold each. In Stage 15, West, Lower, and Crown Rifts activate on Waves 2, 5, and 8; sealing them costs 80, 100, and 120 gold respectively. Towers inside an active rift's lock zone cannot fire.
Advanced strategy
Four habits separate a quick loss from a Rankings run.
Positioning — use route geometry, not random placement
The strongest layouts are built around repeated exposure. Place towers where enemies stay in range longest — around turns, along long lanes, and in overlapping coverage pockets. A mediocre tower in the right place usually beats a better tower placed badly. Let splash towers soften groups while longer-range towers finish priority targets before they cross the final third of the map.
Boss prep — plan waves before they start
Save gold before boss waves instead of making weak filler buys.
Favor high single-target uptime for bosses (Hunter → Sniper, upgraded Bomb).
Keep at least one spell ready as insurance against a surge or shield drop.
Upgrade proven towers instead of panic-building new ones.
Protect lives to preserve bonus score and future momentum.
Economy — upgrade efficiency wins long runs
Overspending on new towers too early is the classic mistake. Upgrades often create more value because they add damage to positions that already work. Expand only when coverage breaks down or a new route segment matters. In Endless, efficient gold conversion matters even more: stable waves create safer score submissions, better bonus accumulation, and room to exploit aura synergies later.
Endless — how to survive longer
Long runs are about discipline: keep a clean frontline, avoid unnecessary leaks, and treat every spell as a recovery tool for pressure spikes. If your layout only works while spells are up, it's too fragile. The simplest endless plan wins: stack reliable damage first, add splash for control, layer in Cryo's Brittle to amplify everything, and reinforce boss answers before greed takes over.